How to Brew Delicious Coffee in a Moka Pot?

What’s the trendiest brewing tool nowadays, you wonder? Well, you won’t go wrong by saying it’s a moka pot. Recognised by coffee fans in mere seconds, this symbol of Italian coffee culture can be found in 9 out of 10 Italian kitchens, as well as in numerous homes all over the world. Iconic design, compact dimensions, impressive simplicity, affordable price and bold flavours—all of these have combined to conquer the hearts of thousands of coffee connoisseurs.
Generally associated with strong, extra hot coffee, moka pots are experiencing a true renaissance these days. This versatile tool is now used to enhance the natural flavours of a certain coffee for Moka pots or even brew popular beverages served in fashionable cafés.
Whether you’re thinking of purchasing a moka pot, have just bought one or have been using this tool for years, this post will help you find out more about this centuries-old coffee maker and disclose some secret tips that will make your moka brews even tastier!
Why Are Moka Pots So Popular Nowadays?
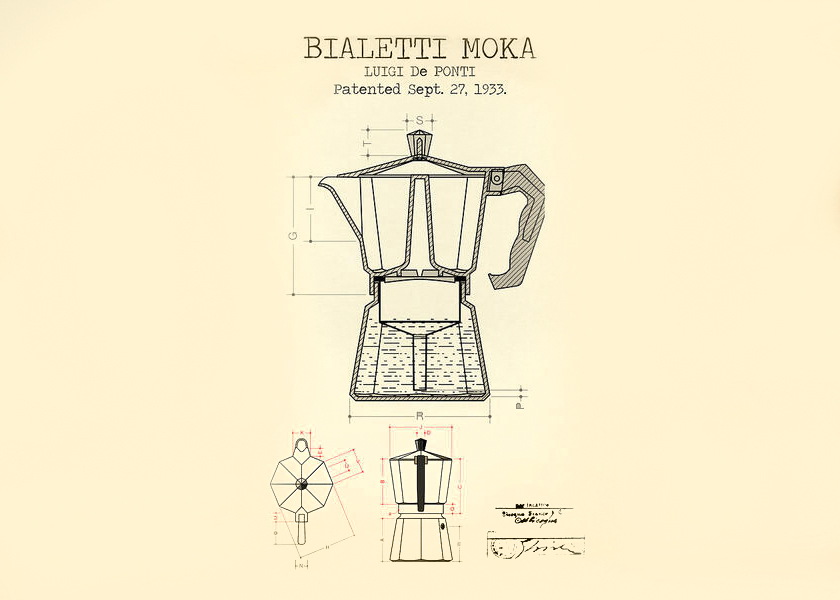
In its time, the moka pot started a true home-brewing revolution. We have Alfonso Bialetti, an engineer, and the inventor Luigi De Ponti working alongside him, both hailing from Milan, to thank for this coffee maker. They presented this innovative tool to the general public as far back as 1933. At the start of the 20th century, Italians had no choice but to go to a café with an espresso machine in it if they wanted to enjoy a cup of strong, delicious coffee. Given the name of Bialetti Moka Express, the first moka pot model (which is still sold today, by the way) enabled coffee lovers to stay home if they felt like it and brew drinks characterised by an intensity and taste that could rival the traditional espresso—and were more affordable to boot! Some of the first moka pots ever could be purchased with ease in the weekly Piedmont bazaar.
The curious of you may find it interesting to learn that the word “moka” originates from the legendary Yemini port city of Mocha, which was once the epicentre of coffee trade. Used to refer to the first moka pot model, the term “express” was chosen to emphasise the speed marking this brewing method.
When Renato Bialetti, the son of Alfonso Bialetti, replaced his father as head of the company, moka pots really took off. It was thanks to this man that the famous Bialetti logo was created: during the 1950s, the coffee maker became synonymous with the moustachioed figure said to represent Renato himself. Extra attention paid to advertising ultimately turned this brewing tool into an indispensable addition to any Italian kitchen. The key message of Bialetti has always been this: all you need for a delicious home-brewed cuppa is coffee, water, fire and a moka pot. It’s estimated that, since it was established, the company has sold around 300 million moka pots all over the world.
Despite the increasing number of brewing tools readily available (you can read more about them here), Italian moka pots still boast a leading position nowadays—and even manage to continue growing in popularity!
How to Use a Moka Pot?

The moka pot is composed of three separate parts: the bottom chamber, where water is poured, the ground coffee basket and the collecting chamber on top. The working principle is simple, really: water starts boiling in the bottom chamber and is consequently pushed upwards via a narrow tube. It then soaks through the coffee poured into the basket and finally reaches the upper chamber. Moka pots can be heated over a gas or electric hob (to heat yours over an induction plate, make sure that your model is compatible with this type of hob or purchase a special adapter).
The coffee-to-water ratio is similar to that used for espresso in this case, and the resulting brew is bold and concentrated. The pressure employed during this type of brewing amounts to as little as several bars though, so it would be wrong to call these brews espressos or refer to moka pots as espresso makers: true espresso requires pressure of at least 8 or 9 bars. This is not to say that a moka pot is inferior, however: it’s simply different, and charming in its own unique way.
For those of you who haven’t had a chance to brew coffee in a moka pot before, here are the classic instructions provided by Bialetti:
- Fill the bottom chamber with water at room temperature (up to the safety valve).
- Choose coffee ground to the right level or grind beans yourself (avoid grinding them too finely). Fill the basket with ground coffee, making sure not to tamp it.
- Place the coffee maker over low to medium heat and wait for a few minutes. Once the upper chamber has filled up with coffee, turn off the heat.
- Pour the resulting brew into cups and enjoy immediately.
Coffee prepared in this manner is bold, intense, relatively bitter and extra hot. This is precisely how Italians like it: drinks like that are integral to their coffee culture.
How to Make Your Coffee Even More Delicious?

Sworn fans of Italian-style coffee are guaranteed to love the classic Bialetti brewing method. If you prefer your daily brew sweeter and less bitter though, or if you simply love to do things differently, we suggest checking this preparation technique out:
- Lovers of classic flavours are recommended to choose medium or a tad darker roasts, but if you’re going to use this method, you might want to give specialty coffee of a lighter roast a try. The most important thing is for your coffee to be fresh, however: freshly roasted beans are always the most flavourful and fragrant.
- Use coffee beans and grind them right before brewing. To have aromas and flavours extracted to the fullest, you absolutely must grind your coffee freshly (learn more about it here). Your best bet is a medium grind: coarser than the one you’d choose for a cup of espresso, yet finer than the classic filter-suited grind.
- Pour ground coffee into the basket of your moka pot. Fill the basket up, smooth the coffee out, but don’t put any pressure on it.
- Fill the bottom chamber with freshly boiled (!) water all the way up to the safety valve. This is one of the key tricks people employ to avoid the added bitterness created by cold water being heated for a long time during brewing and hence “burning” your coffee in the process.
- Insert the basket and screw the upper chamber on (use a towel to hold the bottom chamber—it’ll be hot at this point).
- Place the moka pot on the stove over low to medium heat. Keep a close eye on the process and listen out for a gurgling sound. As soon as you hear the water gurgling, take the coffee maker off the heat immediately and cool the bottom chamber under cold water. This will prevent the pot from “spitting” your coffee out aggressively and will put a quick stop to the brewing process. That’s precisely how extra bitterness is avoided.
- Pour the drink into cups and enjoy!
All in all, it is these three simple components—freshly roasted and ground beans, freshly boiled water and brewing stopped at the exact right moment—that have the power to noticeably improve the flavour of your brew.
Tips for True Moka Pot Aficionados
Discerning connoisseurs, fans of bold experiments and those who are always bent on taking their brewing rituals to a whole new level will benefit from a few extra tips that moka aficionados all over the world are gladly taking advantage of.
Coffee distributed evenly in the basket for better extraction of flavours. For balanced extraction and excellent flavour, even distribution of ground coffee is needed. This means that gaps in between separate particles must be as uniform as possible and lumps must be avoided. Tip: pour coffee into the basket in stages, shaking it in between. Once the basket is full, use a needle or a special coffee distributor to get rid of any lumps.
AeroPress paper filter for a cleaner, tastier brew. You can try and put a paper AeroPress filter into the basket of your moka pot. This additional layer of filtration will improve extraction and make your coffee taste even “cleaner”. If your moka pot is on the larger side, try pre-wetting your filter to help it stick to the basket and remain firmly in place while you’re assembling the components of your pot.
Slow, even flow rate for finer flavour (achieved by maintaining the right temperature). When it comes to the drawbacks of this brewing method, seasoned coffee connoisseurs will tell you that the key issue here is brewing temperature that can quite easily become too high. The pot may become extra hot, causing your coffee to become “burnt” and hence creating unwanted bitterness. How can you avoid that? Well, here’s the solution: keep heating the pot until coffee starts flowing, then maintain the same pressure and temperature, stopping them both from rising further while preventing the whole brewing process from ending too early at the same time. How can you do that though?
- If using an electric hob. Place your moka pot on a preheated hob (go for low to medium heat). As soon as the coffee starts flowing, move the pot to the side slightly. If the flow rate slows down to the point where it seems like your coffee may stop flowing altogether at any moment, slide the pot closer to the heat again. If your coffee’s flowing too quickly, take the pot off the heat for a while or simply raise it a bit. Your goal here is to heat water gently and evenly.
- If using a gas hob or an induction plate. Once coffee starts flowing, lower the heat as far as possible, then keep adjusting it by raising the pot or moving it to one side or the other whenever needed.
- If using an adapter. If you have a gas hob or an induction plate at home, we suggest using a special adapter. It’ll enable you to take the pot off the heat immediately after coffee starts flowing. The warm adapter will go on heating the moka pot gently and evenly until the end of the brewing process.
Different grinds and water levels depending on the chosen roast. Beans of a lighter roast are slower to release their flavours. That’s why it’s better to grind them more finely and fill the water chamber up to the very edge of the safety valve: this helps extract more notes from the beans. If you go for beans of a darker roast, grind them a bit more coarsely and use a smaller amount of water. That will keep your coffee strong enough while extracting its key aromas and flavours—which is exactly what you expect from dark-roasted varieties.
Give New Recipes a Try
Finally, we’d like to share some top-notch recipes with you, each of them designed specially for the versatile moka pot. Coffee prepared with the help of this tool is very similar to espresso, so you can use it as a substitute when making classic espresso-based drinks too.
Moka Americano
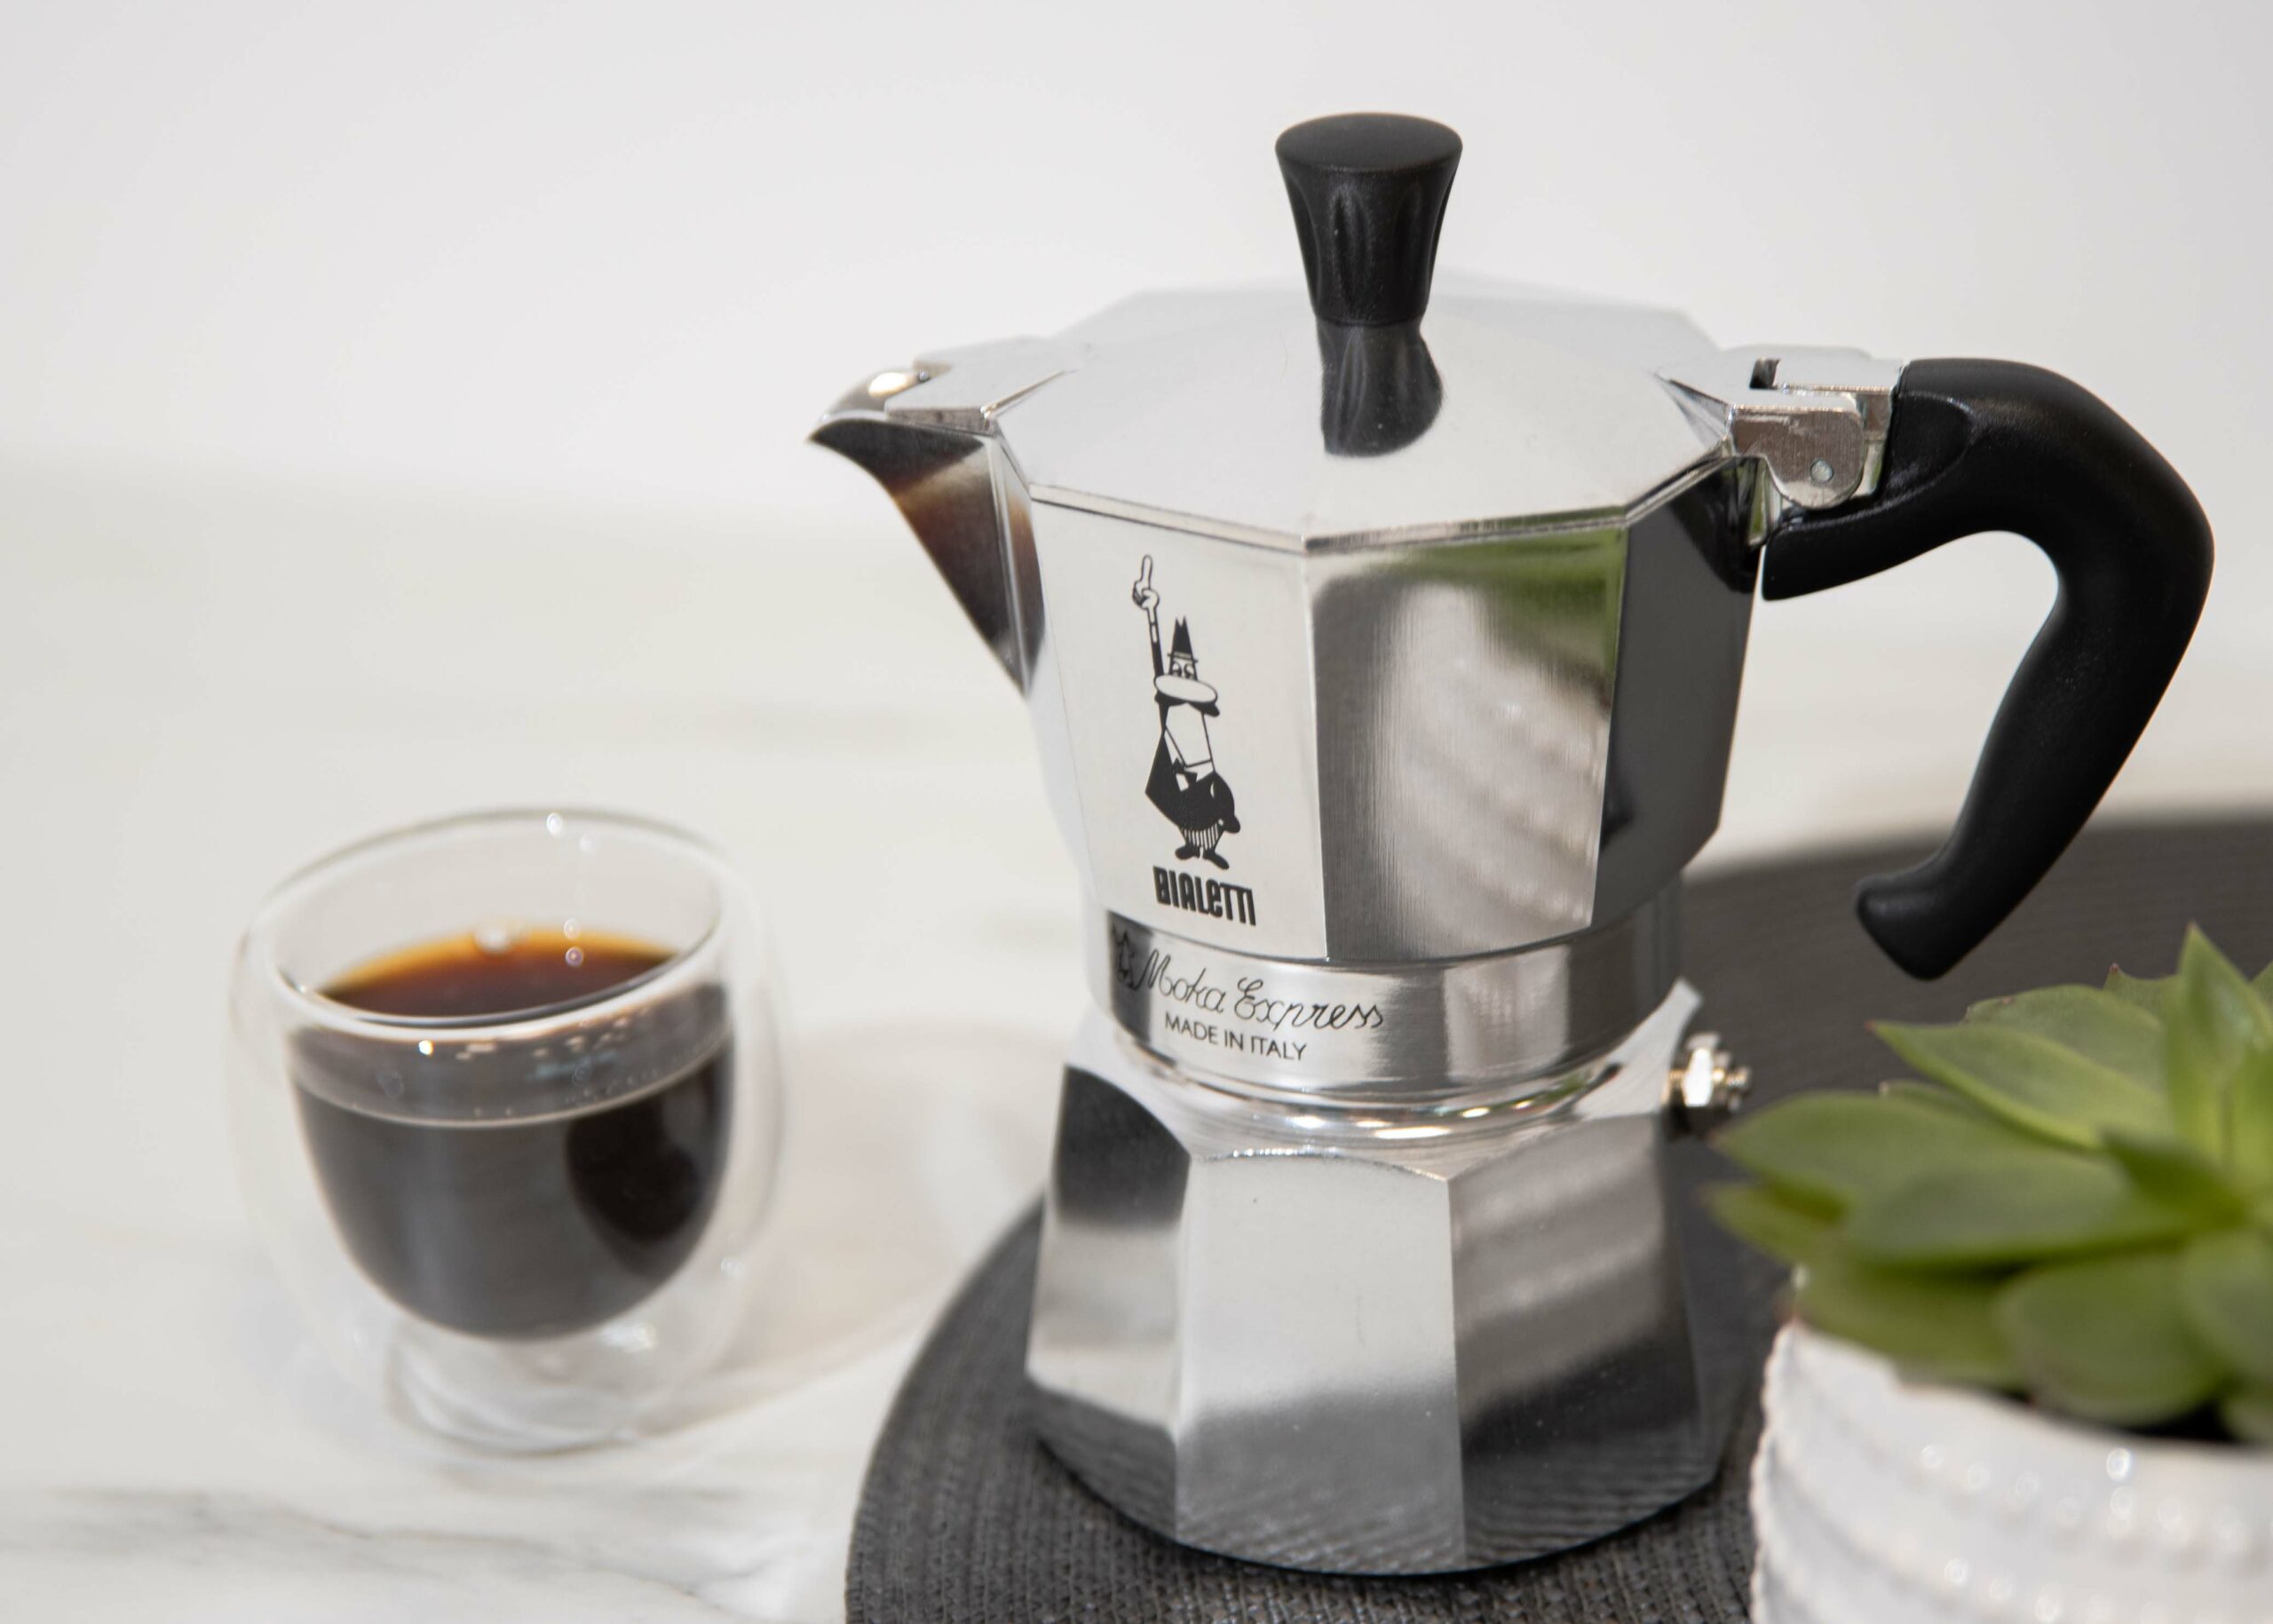
As you already know, coffee brewed in a moka pot tends to taste quite bold, so some of you may want to soften it up a bit. To do that, just add some hot water (the exact quantity depends on your personal preference). If you use high-quality specialty coffee and follow our tips when brewing, adding water to the resulting drink will make it even sweeter and more delicious. This sort of beverage can be called “moka americano”.
Moka Cappuccino
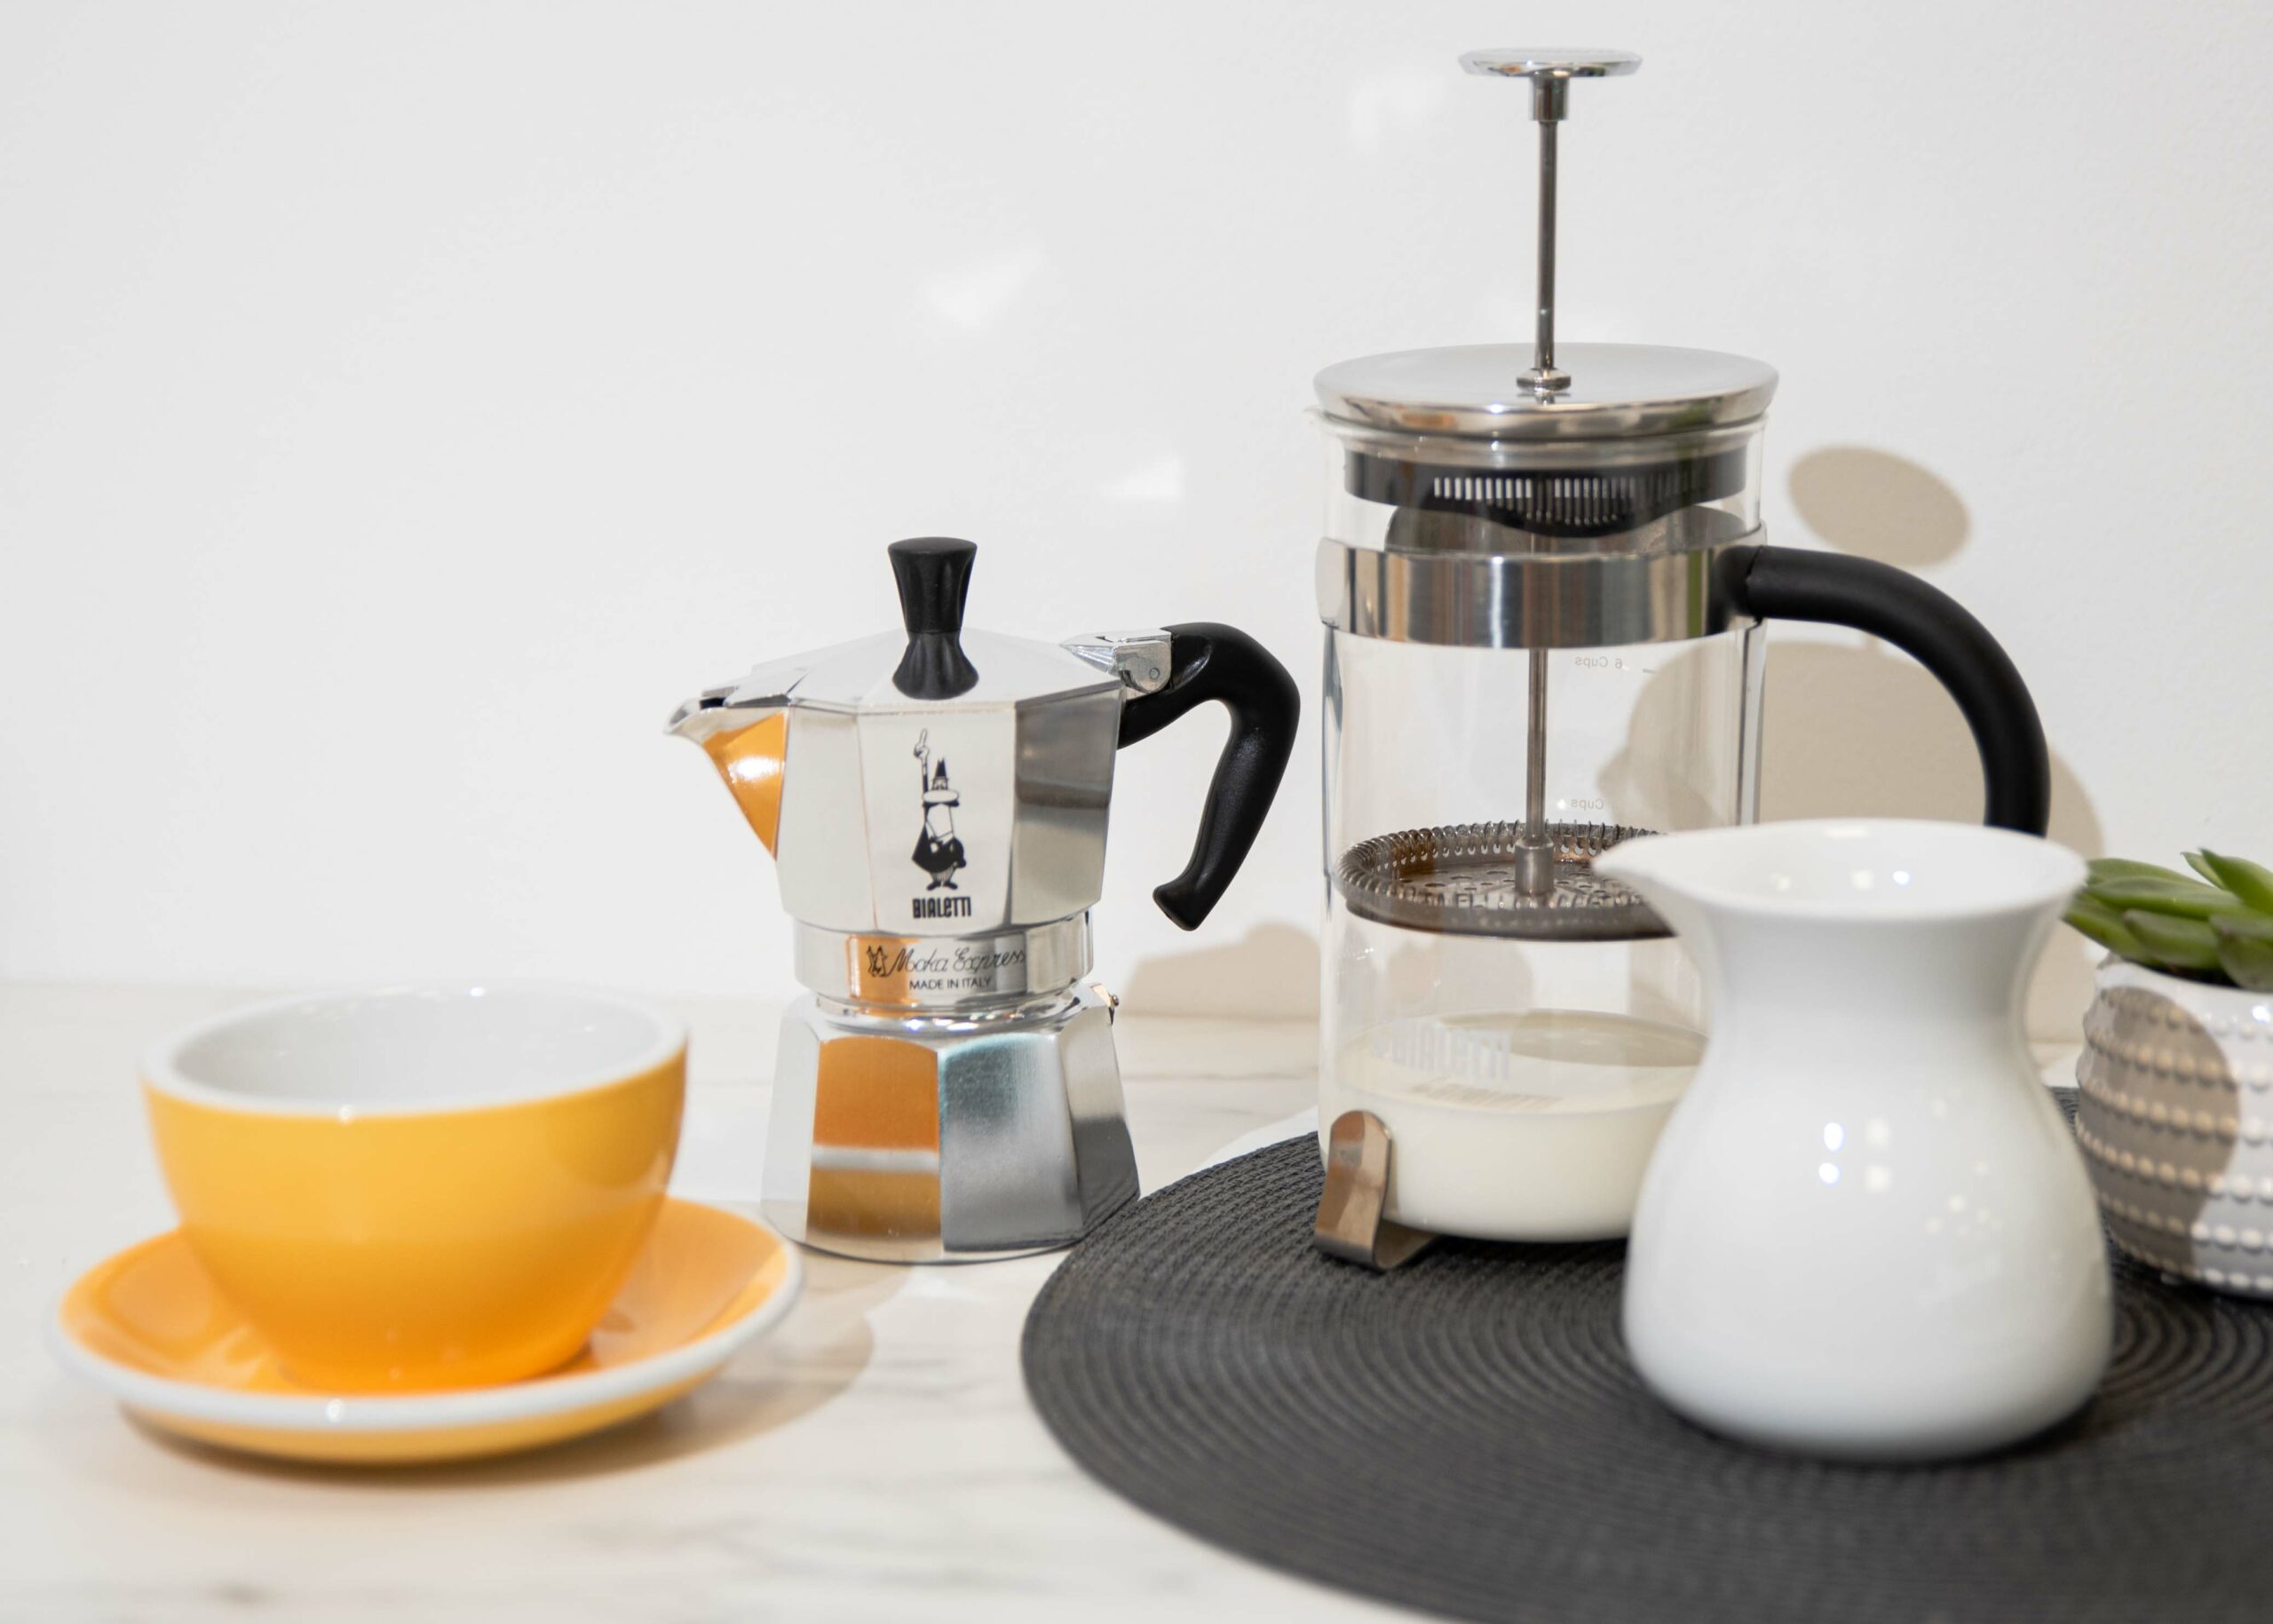
Bold coffee goes well with milk foam. You can make some using a special milk frother or even a regular French press—yep, you heard that right! All you have to do is pour some milk heated to a temperature of around 60 °C into a French press and froth it manually. If you own a milk jug, transfer the frothed milk to it, twirl the milk around gently to get rid of any bubbles, then pour it onto the prepared drink. If you’re feeling particularly adventurous, you can even try your hand at latte art!
Café Cubano
Beloved over in distant Cuba, this recipe is sure to impress the owners of sweet tooth. The prepared brew is topped with a thick layer of sugary foam. Let’s travel to Cuba then, shall we?
To brew six small servings, you’ll need:
- 4 tablespoons of white/brown sugar
- Coffee of a darker roast
- Moka pot
- Spatula or spoon for stirring
- Cup/container for stirring
- Teaspoon

Steps
- Get your moka pot ready: pour water into the bottom chamber, add coffee, assemble all the components.
- Before you turn on the heat, pour sugar into your chosen container.
- Place the pot over low heat. Have a teaspoon and the container with sugar ready nearby.
- Scoop up the first few drops of coffee (they happen to be the most concentrated). Once you have a teaspoon of coffee ready, pour it onto the sugar. Finish brewing the coffee using your chosen method.
- Make the foam: using a spatula or a spoon, start stirring the coffee and sugar mixture. Keep stirring until it turns into a thick, frothy, pale-coloured mass.
- While stirring continuously, add the rest of the coffee from the moka pot. You’ll see the foam floating up to the surface.
- Pour the drink into small cups and serve.
To Conclude…
We hope this post has helped you rediscover the iconic moka pot and has inspired you to start experimenting with this wonderful brewing tool. Using the tips shared above, you’re bound to prepare some fragrant, sweet, truly delectable coffee. Now sit back and enjoy a cuppa!
